 Share on facebook
 Tweet
Tweet Email
Email Share on Linkedin


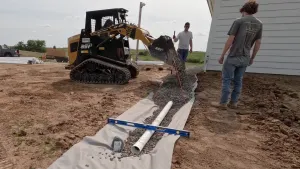
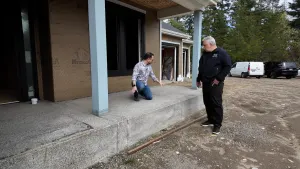
Shingle flare-out - How-To
Wade Paquin shows us how to build a shingle flare out. Before you begin, remember your flashings! Then, once the stone is set, you’re ready to go. 1. Get your pre-fab with the flare that you want. In this case cut from a template. 2. Fasten it to a PT block. 3. Set it on your control line. Fasten. 4. Add half-inch plywood, push into shape. Use exterior screws. 5. Add ice and water shield. 6. Add rain slicker which will act as a drainage plane. 7. Now you can start your shingle coursing. Wade and the crew will walk you through the shingling details. From shaving, marking, rough cuts, and fine-tunes, you’ll watch the step-by-step process of building a shingle flare out. He’ll take you from the beginning of the project, through the details, and to the finished product. Remember, it’s the little details that matter.