Search Content

Use the search bar above, explore content using the categories below, or log in to find your favorites.

Create An Account

Thank you for choosing to create an account with us.

Please note that creating an account is optional, but helps us better tailor the content we show you.


Please enter your email address and choose a password.

By creating an account, you agree to our Terms and Conditions and our Privacy Policy

Log in

Tell us a little about yourself


Choose Areas of Interest

Please tell us a little more about your profession.

This is optional, but lets us better tailor content to your specific interests.


You can read our policy on data collection and privacy here.

Channels that Interest You

Finally, check which channels interest you so you can see more relevant content. Choose as many as you like. You can also come back here and edit these settings later.


Share Content

Share our content with your friends and colleagues using the links below.


Sign up Forgot your password?
Home Washer Box Repair
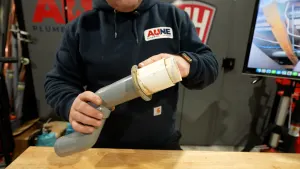
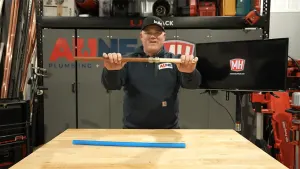
In this video Eric Aune shows how replacing valves in a laundry box can be a challenging task, especially when the box is buried behind the wall. The key to a successful repair is to properly source the right parts that match the existing box. By cutting a small hole in the sheetrock to gain access to the pipes, you can replace the valves without having to remove the entire box. Using VGA fittings to connect the new valves to the existing PEX tubing is a great way to ensure a watertight seal. It's important to clean up and leave the area better than you found it, using rags, paper towels, and cleaning solutions. By being prepared and thoughtful in your approach, you can efficiently replace valves in a laundry box without causing unnecessary damage.

Showing result 1 to 8 of 45