Search Content

Use the search bar above, explore content using the categories below, or log in to find your favorites.

Create An Account

Thank you for choosing to create an account with us.

Please note that creating an account is optional, but helps us better tailor the content we show you.


Please enter your email address and choose a password.

By creating an account, you agree to our Terms and Conditions and our Privacy Policy

Log in

Tell us a little about yourself


Choose Areas of Interest

Please tell us a little more about your profession.

This is optional, but lets us better tailor content to your specific interests.


You can read our policy on data collection and privacy here.

Channels that Interest You

Finally, check which channels interest you so you can see more relevant content. Choose as many as you like. You can also come back here and edit these settings later.


Share Content

Share our content with your friends and colleagues using the links below.


Sign up Forgot your password?
Home Finished Drywall Detailed Sanding
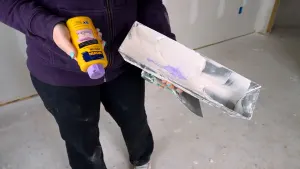
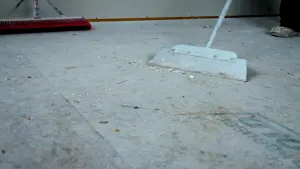
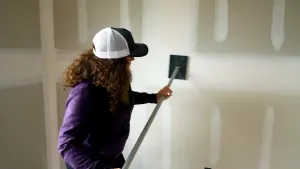
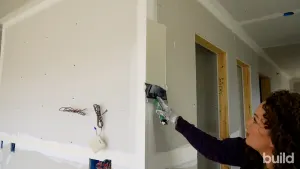
Detail sanding after texture is an important step to ensure a clean and seamless finish before painting. Using a sanding sponge to crisp up corners, clean up any drips or overlaps, and address any imperfections like dust pockets or debris will result in a professional-looking final product. Focusing on corner bead, angles, and any texture spots will help achieve a smooth surface for painting. While not every painting crew may perform this step, it is recommended for a high-quality outcome, especially when dealing with different paint colors or finishes. With a little elbow sanding, attention to detail, and some cleanup, the textured walls will be ready for priming and painting, giving a polished look to the finished project.

Showing result 1 to 8 of 45