 Share on facebook
 Tweet
Tweet Email
Email Share on Linkedin


5 Tips for a Retirement House BUILD in the South
In this video I’m going to give you 5 Tips for building a home for clients who are nearing retirement (specifically a house in the Southern US). I tend to find that the Baby Boomer generation hears my message about efficient, durable, low maintenance, and comfortable. I’m pretty sure these tips will work for anyone else considering a new BUILD too!
Tip #1 Drain the Rain – Housewrap & Air Sealing
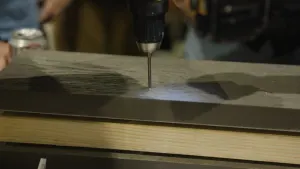
Nothing Kills a house faster than Water. If you are building a house to last, you must pay attention to the waterproofing details. In this BUILD we used Tyvek Commercial D housewrap along with all their flashing accessories for the window & door penetrations. Here’s the video I shot of the Jeld-Wen window install using DuPont’s Best Practice methods. I’ve been using Tyvek for years now and it’s my go-to standard for a house with overhangs.


We also used for the first time an air sealing tape called SIGA Wigluv on this house to ensure the tightest possible envelope. More info on that install here at this video on the SIGA tape install.


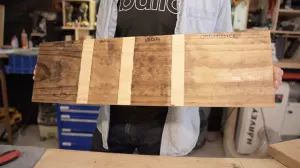
Tip #2 Advanced Framing
We used 2×6 exterior walls on 24″ centers with California Corners and insulated headers. This makes for a very strong house, but one that utilizes the most space for insulation with the least thermal bridging. We opted against exterior rigid foam so the Advanced Framing was vital to give the highest R-value we could get for our walls.

Tip #3 Insulation
The walls have 5.5″ of Open Cell foam, and the roof has 9″ of open cell foam sprayed directly under the roof deck.


Tips #4 Roof
This is a big one for the South. When you choose a metal roof you are making a conscious choice to opt for durability over initial cost. I LOVE metal roofs! They are very durable and will often take a hail storm without a dent while the entire neighborhood is having their shingle roofs replaced. I also like that you can easily opt for a solar panel install later without penetrating the roof. They can use a C-clamp to attach the solar to the metal roof ridges without needed to screw through the roof.
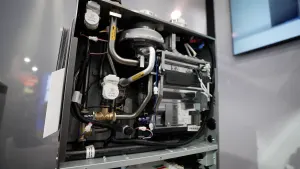
Also notice that I’m bringing all the mechanicals into the conditioned space of the house. This is huge for the South where we don’t have (or need) basements and most ducts are running through the crazy-hot attic, or through the disgusting/humid crawl space.


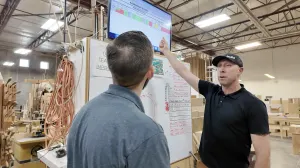
Tip #5 Mechanicals / HVAC
Last tip here, get a good mechanical designer to help you design your Heating & Cooling system. So many houses in the South have their HVAC systems “designed” on the day the crew arrives to install ducts. Take the time (and money) to do this pre-planning correctly and you’ll end up with an efficient & comfortable system that will distribute correctly, that will provide fresh and cleaned air, and will last longer than a standard unit. In this project, I used Positive Energy to design the mechanicals along with an Energy Model and a full duct layout. We opted for a two zone Mitsubishi system tied to one outdoor unit. We also had a stand-alone Ultra-Aire XT 105 dehumidifier, and we brought in fresh air through a Panasonic ERV mounted in the upstairs hallway near the return vent.


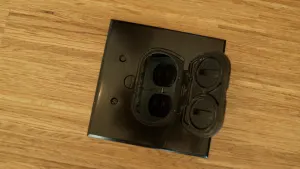
There’s my nice Quickflash boot for the lineset through the stucco wall!

Follow these 5 tips and you’ll be well underway to a BUILD that will be efficient, comfortable, durable, and low maintenance. Retired or not, these are some pretty good goals for a home don’t you agree?


Be sure to comment below if you think I’ve missed anything.
Best to your in your #BUILD!
-Matt Risinger
Risinger Homes in Austin, TX